





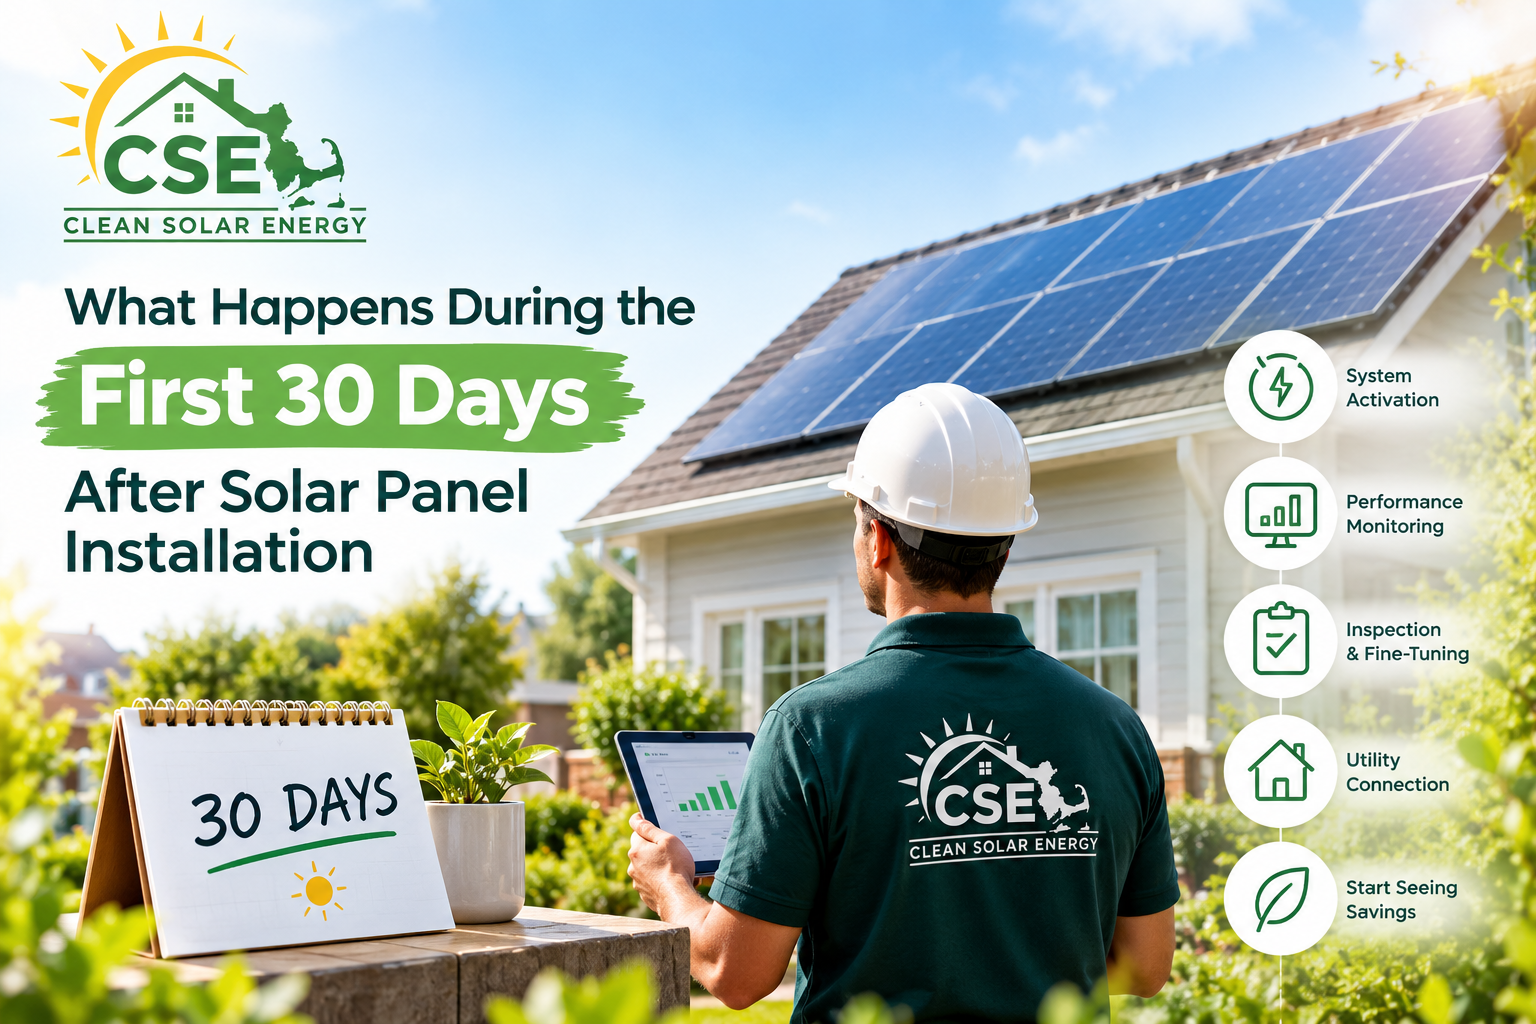
The solar panels are finally on your roof. The installation team has packed up its equipment, your property looks different, and you are ready to start generating clean electricity. But what happens next? Does your solar system immediately power your home? When will you see energy savings? And how can you tell whether everything is working correctly?
The first 30 days after solar panel installation are an important period for homeowners. During this time, the installation team may complete final inspections, your utility company may finalize the grid connection, and your monitoring system will begin providing useful information about energy production. Depending on your location, utility provider, and system configuration, some steps may happen quickly while others take several weeks.
Understanding this process helps you set realistic expectations and recognize when you need assistance. More importantly, it allows you to become comfortable with your new solar system and make the most of the energy it produces.
Day 1–3: The Panels Are Installed, but Is Your System Ready?
The installation day marks a major milestone, but the physical installation does not always mean your solar system can immediately export electricity to the grid. After mounting the panels, technicians connect the necessary electrical components, install or configure the inverter, check wiring, and verify that the equipment follows the manufacturer’s requirements and applicable electrical codes.
During the first few days, the installation team may also complete final checks or arrange any remaining work. Depending on your project, these checks can include confirming that mounting hardware is secure, reviewing electrical connections, inspecting conduit and wiring, and ensuring that the inverter communicates correctly with the monitoring platform.
However, the precise sequence depends on the installer, local regulations, and utility requirements. Some systems may begin operating soon after installation, while others must remain switched off until the relevant inspection or utility authorization is complete.
What should you do during this stage?
- Ask your installer whether the system is fully operational or awaiting approval.
- Request copies of equipment documentation, warranties, and relevant installation records.
- Confirm whom to contact if you notice an error message or have questions.
- Avoid opening electrical enclosures or attempting to repair the equipment yourself.
Most importantly, do not assume that an inactive system is necessarily defective. It may simply be waiting for the next required step.
Day 3–7: Inspections, Approvals, and the Permission-to-Operate Process
Once the installation team completes its work, the project may move into the inspection and utility approval stage. Depending on local requirements, an electrical inspector or other authorized professional may review the installation to confirm that it meets applicable safety standards.
After the necessary inspections, the utility company may need to complete its own review before allowing the system to operate in parallel with the electrical grid. In the United States, this authorization is commonly called Permission to Operate, or PTO.
The timing varies considerably. Some homeowners receive approval within a few days, while others wait longer because of inspection schedules, utility processing times, missing documents, or additional technical requirements. Therefore, the first week may involve administrative progress rather than visible changes in electricity production.
If your system includes battery storage, the commissioning process may also involve checking battery communication, operating modes, backup settings, and other equipment-specific functions. Your installer should explain which features are available and whether any additional approval is necessary.
A helpful tip: Ask your installer for a clear update on the inspection and utility approval status. If a delay occurs, find out which organization needs to take the next step and whether you need to provide any documents.
Do not switch on a grid-connected system before receiving the required authorization and instructions. Your installer should confirm when the system can safely begin normal operation.
Day 5–10: Getting to Know Your Solar Monitoring App
Many modern solar installations include a monitoring platform that displays information about electricity generation. Depending on your equipment, you may access this information through a smartphone app, a web dashboard, or a display connected to the inverter.
During the first week, your installer may help you create an account, connect the system to your home internet network, and understand the main dashboard. You might see daily energy production, current power output, historical graphs, or system alerts. If you have a compatible battery or energy meter, the platform may also display battery charge levels, household consumption, and electricity imported from or exported to the grid.
However, monitoring features differ between manufacturers. Some systems report production almost in real time, while others update after a short delay. Communication problems can also prevent data from appearing even when the panels themselves are operating correctly.
Spend a little time learning what each measurement means. Power, usually measured in kilowatts (kW), describes the rate at which electricity is being produced at a particular moment. Energy, measured in kilowatt-hours (kWh), describes the amount generated over a period.
For example, a system producing 4 kW for two hours under consistent conditions would generate approximately 8 kWh during that time. Actual production changes with sunlight, temperature, shading, and other factors.
By learning these basics, you can follow your system’s performance without expecting the numbers to remain constant throughout the day.
Day 7–14: Your First Real Look at Solar Energy Production
Once your system receives authorization and begins operating, you can start observing how it responds to everyday conditions. On a clear day, production generally increases after sunrise, reaches a higher level around the stronger daylight hours, and declines toward sunset. Clouds, shading, roof orientation, panel angle, and seasonal sunlight all influence the pattern.
Consequently, two days can produce noticeably different results even when your equipment is functioning properly. A cloudy morning may limit production, while a sunny afternoon can increase output. During shorter winter days, your system may generate less energy than it does during longer summer days.
Rather than judging performance from a single reading, examine the overall pattern across several days. Look at the total energy produced, compare days with similar weather, and check whether the monitoring system reports any persistent faults.
Remember that a solar system’s advertised capacity does not represent its constant output. A system rated at 8 kW will not necessarily produce 8 kW throughout the day. Its actual output depends on sunlight and the operating conditions at that moment.
If your system generates little or no energy during daylight hours on several clear days, check the monitoring platform for warnings and contact your installer. Nevertheless, avoid assuming that every temporary drop signals a fault.
Clean Solar Energy can help homeowners understand the factors that influence solar production and the importance of evaluating performance over time rather than reacting to individual readings.
Day 10–15: Understanding Your Home’s Electricity Consumption
Solar panels generate electricity, but your household’s energy use determines how much of that electricity you can use directly. During the second week, start observing when your home consumes the most power. For example, air conditioning, electric water heating, laundry equipment, cooking appliances, and electric vehicle charging can create significant demand at different times of the day.
When your solar system produces electricity while your home needs it, the property can use that energy directly. This is commonly called self-consumption. If your panels generate more electricity than your home currently needs, the surplus may flow to the grid, depending on your system configuration and utility arrangements.
On the other hand, when household demand exceeds solar production, your home may draw electricity from the grid or from a battery if you have one configured to discharge. Therefore, solar panels do not necessarily eliminate your electricity bill or provide uninterrupted backup power during an outage.
Your monitoring system may help you understand these energy flows if it includes the appropriate meters and integrations. Without consumption monitoring, you may see only how much electricity your panels generate, not how much the home uses or exports.
Once you understand your daily patterns, you can consider shifting flexible activities—such as running a dishwasher or washing machine—to periods when solar production is stronger. This approach may increase direct solar use, although the actual financial benefit depends on your utility rates and export compensation.
Day 15–20: Your First Utility Bill After Solar Installation
Your first electricity bill after solar installation may look different from what you expected. However, the timing of your installation and the utility’s billing cycle can make the first bill an unreliable indicator of your system’s long-term savings.
If your system became operational halfway through a billing period, the bill may include substantial electricity consumption from before the panels began generating power. Additionally, fixed customer charges, delivery charges, taxes, and other fees may remain even when your solar system supplies much of your electricity.
Another important factor is net metering or the utility’s applicable export-compensation arrangement. Depending on your location, eligibility, utility tariff, and interconnection agreement, exported electricity may earn credits or receive compensation under specific rules. Those credits may appear on a different schedule from the electricity charges.
For this reason, do not assume that every kilowatt-hour your panels export will offset a kilowatt-hour you import at the same price. The financial outcome depends on the rules that apply to your account.
During this stage, review your bill for signs that the utility has recognized your solar connection, where applicable. If you expected export credits but cannot find them, contact your utility provider to confirm your account’s status and billing arrangements.
Also, keep your first few bills. Comparing them with later bills and your pre-solar usage can help you understand the system’s financial impact more accurately.
Day 20–25: Small Checks That Help You Protect Your Investment
By the third week, you will probably have a better sense of how your system operates. This is a good time to review the information your installer provided and confirm that you know how to identify common alerts.
Start with the monitoring dashboard. Check whether the system reports recent energy production and whether any warning messages remain unresolved. If you have a battery, review its displayed operating status and make sure you understand the settings your installer configured.
Next, take a look at the roof from a safe location on the ground. You may be able to spot obvious concerns, such as displaced materials or visible damage around accessible roof edges, but you should not climb onto the roof to inspect the panels yourself. Contact a qualified professional if you suspect damage or notice an issue that requires closer examination.
You should also confirm that you have received the relevant documentation, including equipment manuals, warranty details, and instructions for requesting service. Keep records of the installation date, commissioning details, and any inspection or utility approval documents.
Finally, remember that solar panels generally do not require daily cleaning or constant hands-on attention. Rain can remove some surface dust, although local conditions may affect how much cleaning is necessary. Follow the manufacturer’s maintenance guidance and consult a professional before arranging cleaning or repairs.
Day 25–30: Reviewing Your First Month and Setting Expectations
As your first month comes to an end, take a moment to review what you have learned. Look at the total energy produced, identify any days with unusually low output, and check whether the monitoring platform has recorded persistent errors. If your system tracks household consumption, compare solar generation with the energy your home used during the same period.
However, one month rarely provides enough information to judge annual performance or calculate precise long-term savings. Weather conditions, daylight hours, household routines, utility billing dates, and seasonal changes all influence the results. A system installed during a cloudy winter month may produce considerably less energy than the same system would during a sunny summer month.
Instead, use the first 30 days to establish a baseline. Note how your system behaves under different weather conditions and become familiar with its monitoring tools. Over the following months, compare production with your installer’s estimate for the relevant season rather than expecting identical output every day.
This is also a useful time to schedule any outstanding follow-up with your installer. If you have unresolved questions about monitoring, utility credits, battery settings, or warranty coverage, ask for clarification before those questions become ongoing frustrations.
A successful first month does not mean that every bill will immediately decrease by a specific percentage. It means that the system has progressed through the necessary setup stages, you understand its operation, and you have a practical way to monitor its performance.
Clean Solar Energy encourages homeowners to treat the first month as the beginning of a longer relationship with their solar investment. By learning how your equipment works and keeping useful records, you can make better decisions about energy use and identify concerns early.
Conclusion: Your First 30 Days Are Just the Beginning
The first month after solar panel installation is about more than watching numbers rise on a screen. It is the time when inspections, utility coordination, monitoring setup, energy-use adjustments, and initial performance reviews come together.
Although the exact timeline varies, homeowners can make the process easier by staying in touch with their installer, learning how their monitoring system works, reviewing utility bills carefully, and keeping installation records organized. These simple habits help you distinguish normal changes in production from problems that need professional attention.
Most importantly, give your solar system time to demonstrate its performance across different weather conditions and billing cycles. Once you understand how it operates, you will be better prepared to manage household energy use, evaluate savings, and enjoy the long-term benefits of renewable electricity.
