





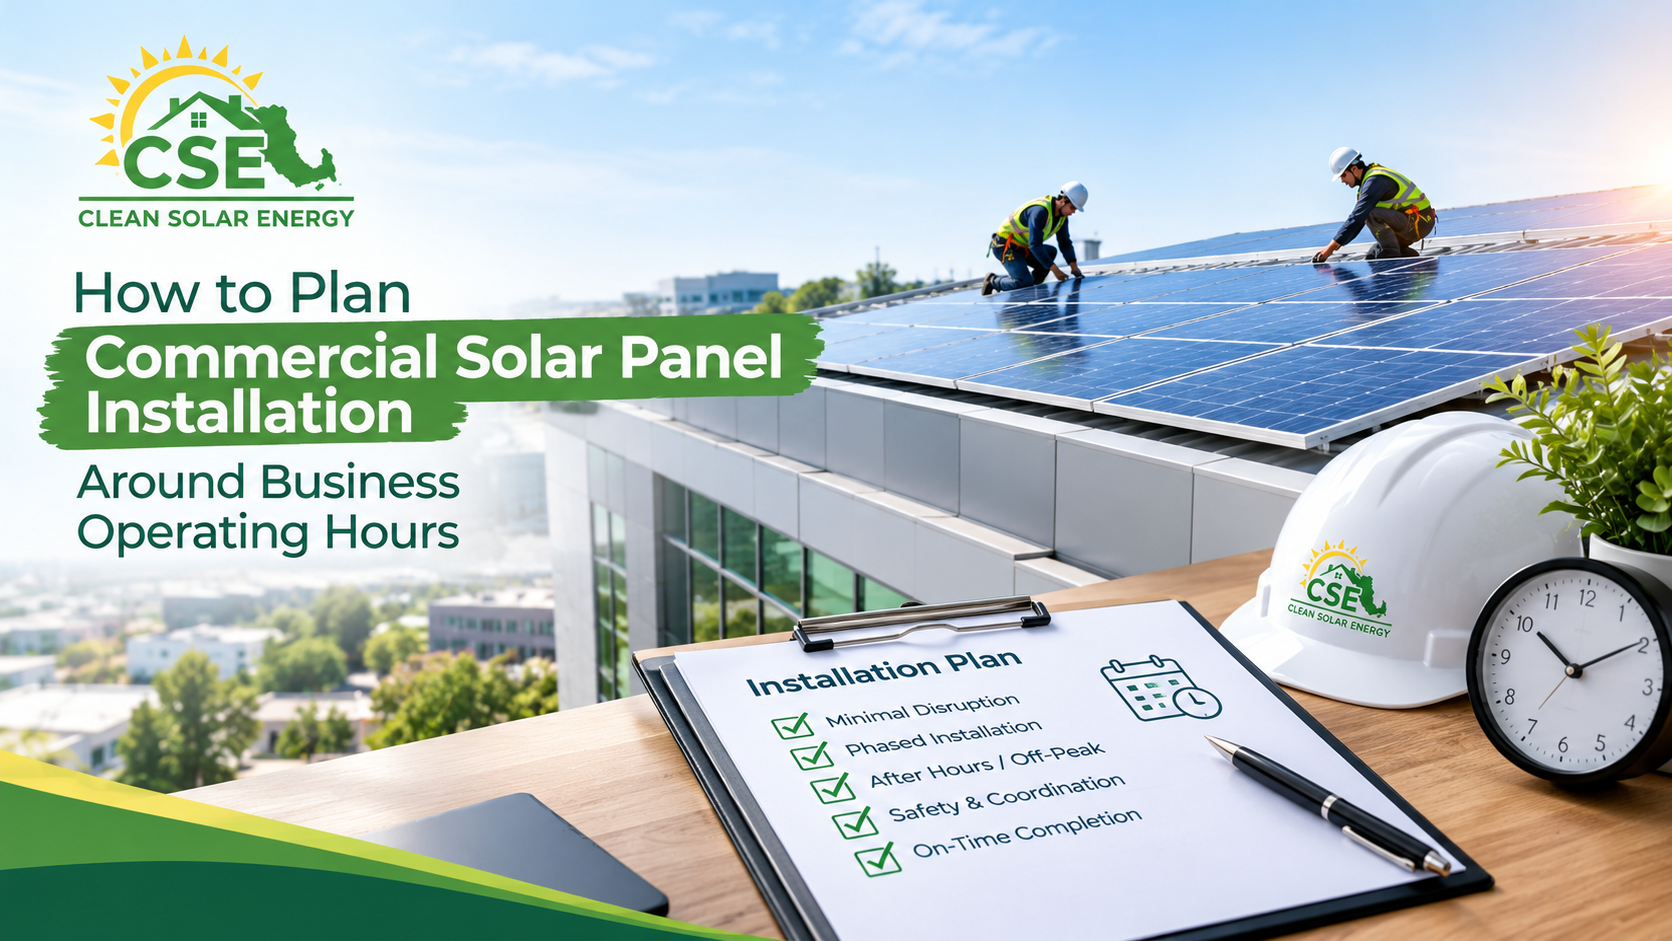
Switching to solar should cut your energy costs, not your revenue. The most common worry business owners have about commercial solar panel installation is disruption: noise overhead, blocked parking, crews on site, and the possibility of a power interruption.
The good news is that installation is highly plannable. With early coordination, most of the work can happen around your operating hours. This guide covers how to schedule a solar project so your team and customers barely notice it.
How Long Does Commercial Solar Installation Take?
Most of the timeline happens before anyone arrives on your roof. Site assessment, system design, permitting, and utility approvals take place mostly off site, with little impact on daily operations.
Once permits are in place, the physical installation at Clean Solar Energy typically takes 1 to 3 weeks, depending on system size and building type. Knowing this window helps you pick the right time of year, week, and day to schedule the work.
Step 1: Map Your Operating Hours and Peak Periods
Start with a simple picture of how your business runs:
- Opening and closing hours, including early deliveries and after-hours cleaning
- Peak customer traffic (lunch rushes, weekend sales, seasonal spikes)
- Production or shift schedules for manufacturing and warehouse facilities
- Critical equipment that cannot lose power (refrigeration, servers, medical devices, point-of-sale systems)
- Slow periods that can absorb heavier work
Share this with your installer during the site assessment. The more specific you are, the better the installation plan fits your business.
Step 2: Choose the Right Time of Year
Every industry has quiet and busy seasons:
- Retail: Avoid the holiday shopping season and major sale periods.
- Schools and universities: Summer break and school holidays are natural windows.
- Restaurants and hospitality: Target off-peak months and slower weekdays.
- Manufacturing and warehouses: Plan around shutdown weeks or lower-volume periods.
- Farms and agribusiness: Avoid planting and harvest peaks.
In Massachusetts, also factor in weather. Winter snow and ice can delay roof work, so a spring or fall start often keeps the schedule predictable.
Step 3: Match the Work to Your Building Type
Different buildings call for different approaches:
- Flat commercial roofs are often the least disruptive, since much of the work happens out of sight above your operations.
- Ground-mounted systems keep crews away from the building but need space and may affect parking or outdoor areas during construction.
- Carport and canopy structures can temporarily block parking, so phasing the work by section keeps part of the lot open.
If you’re unsure which setup suits your property, a site visit and energy audit will show what’s practical for your building and operations.
Step 4: Plan for the Few Disruptive Moments
Most of an installation is quiet, but a few activities deserve advance planning:
- Equipment delivery and crane or lift use: Schedule these before opening or on a day your lot is least busy.
- Noise: Ask which tasks are loudest and plan them outside customer-facing hours where possible.
- Electrical tie-in: Connecting the system to your electrical panel may require a brief, planned power shutdown. Schedule it for evenings, weekends, or a closed day, and notify staff in advance.
- Utility inspection and approval: After installation, inspections and the utility’s sign-off must happen before the system is switched on. Build this into your timeline so there are no surprises.
Step 5: Protect Safety, Access, and Customer Experience
Disruption isn’t only about noise and power. Cover these basics with your installer:
- Clearly marked work zones and safe walkways
- Designated delivery, staging, and parking areas
- Rules for crew entry and badge or check-in procedures
- Signage so customers know what to expect
- A single point of contact on each side for quick decisions
Step 6: Communicate Early and Often
A good communication plan prevents most problems:
- Tell your team what’s happening, when, and who to contact.
- Update customers with a short notice on your website, door, or social media if parking or access changes.
- Hold a quick kickoff meeting with your installer before work begins.
- Review the schedule weekly so adjustments for weather or deliveries are made early.
Step 7: Choose an Installer That Works Around You
The installer you pick matters as much as the schedule. Look for a company that:
- Performs a thorough on-site assessment and energy audit before proposing a plan
- Handles design, permitting, and utility approvals so you aren’t coordinating several parties
- Gives you a clear timeline and a single project manager
- Is licensed, certified, and experienced with commercial buildings
- Is transparent about pricing and scope
At Clean Solar Energy, our engineers, project managers, and installers handle the full process, from assessment to integration and ongoing monitoring, and we plan installations to keep disruption to your operations to a minimum. You can learn more about our commercial solar panel installer services in Massachusetts.
Quick Checklist: Planning Your Installation Around Business Hours
- List your operating hours, peak periods, and critical equipment
- Pick a low-demand season or shutdown window
- Confirm the mounting type (roof, ground, or carport)
- Schedule deliveries and lifts outside peak hours
- Plan any power shutdown for off hours
- Set up safe access, parking, and staging areas
- Notify staff and customers in advance
- Allow time for inspection and utility approval
Conclusion
Planning around your business hours comes down to three things: understanding your operating rhythm, choosing the right timing and work approach, and partnering with an installer who communicates clearly. With the right plan, you get lower energy bills and a cleaner footprint without interrupting the work that pays the bills.
